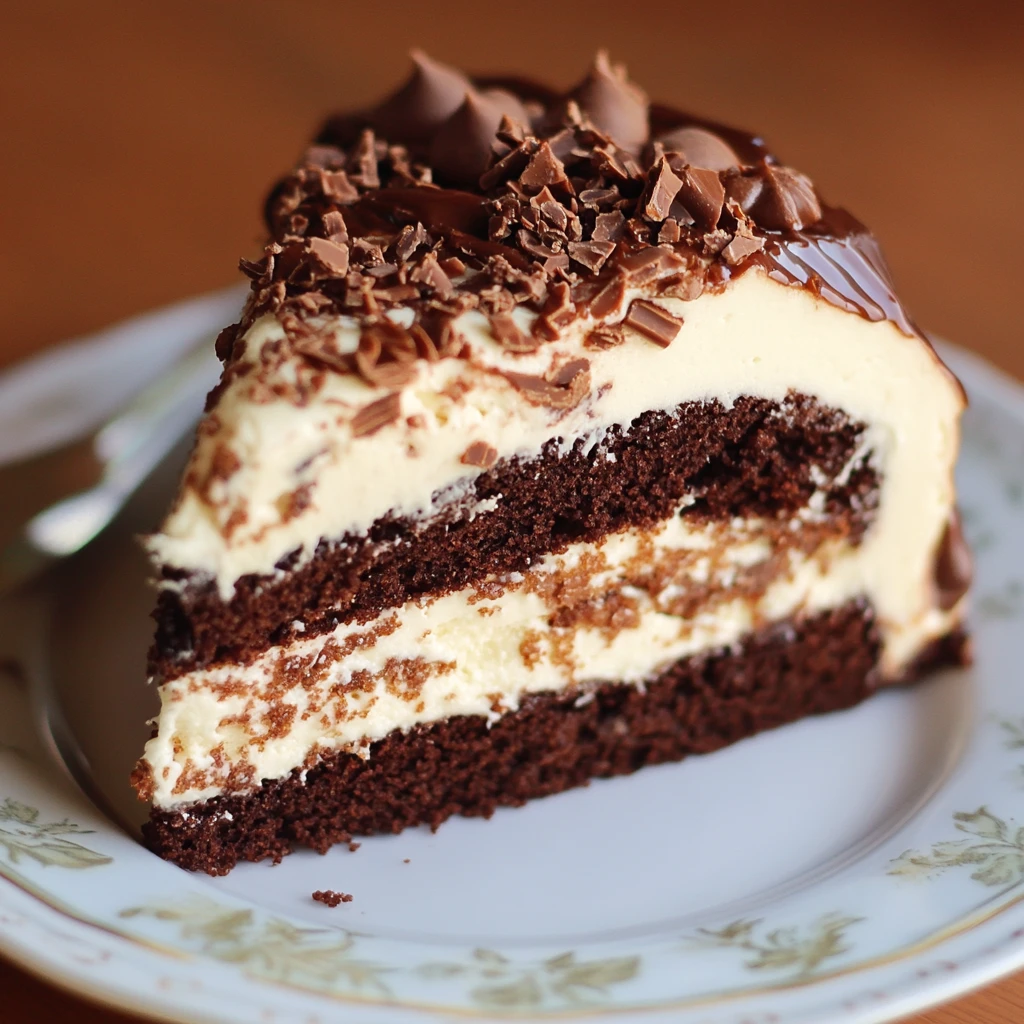
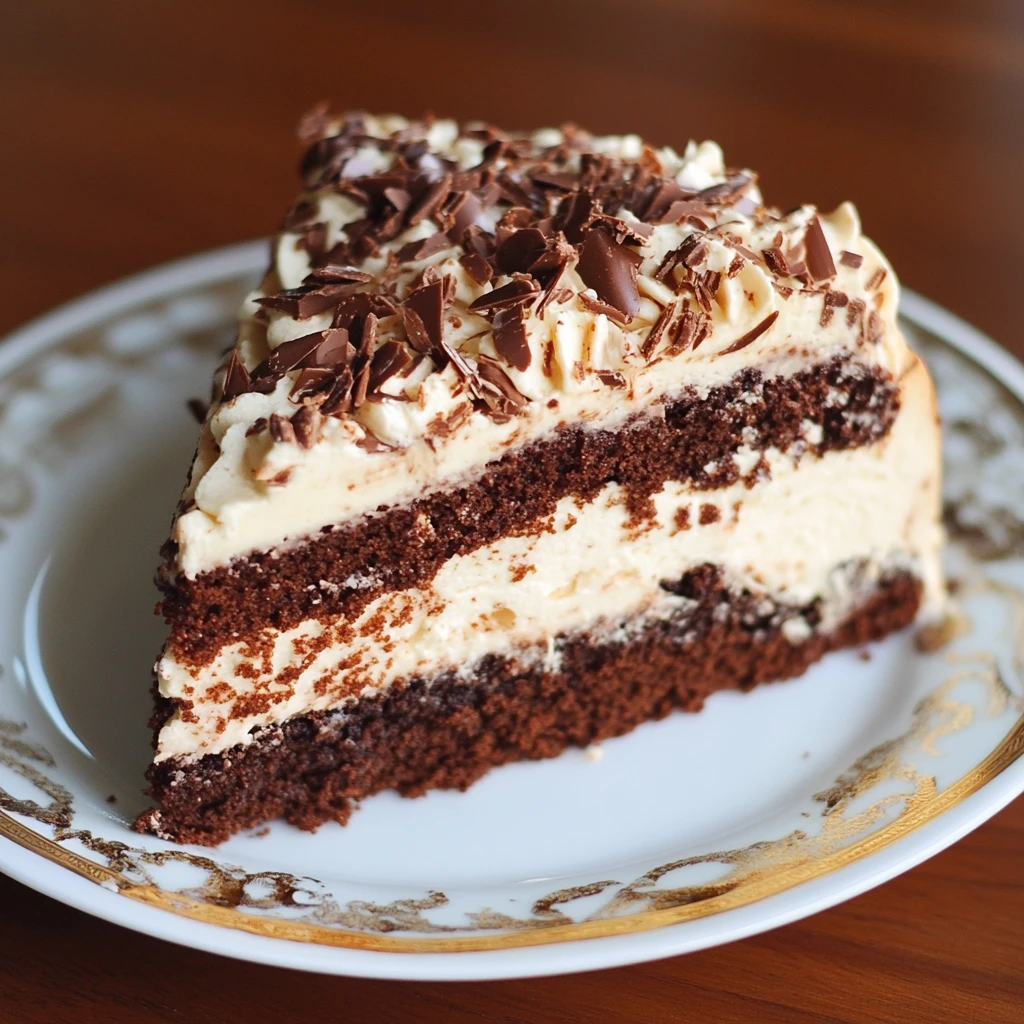
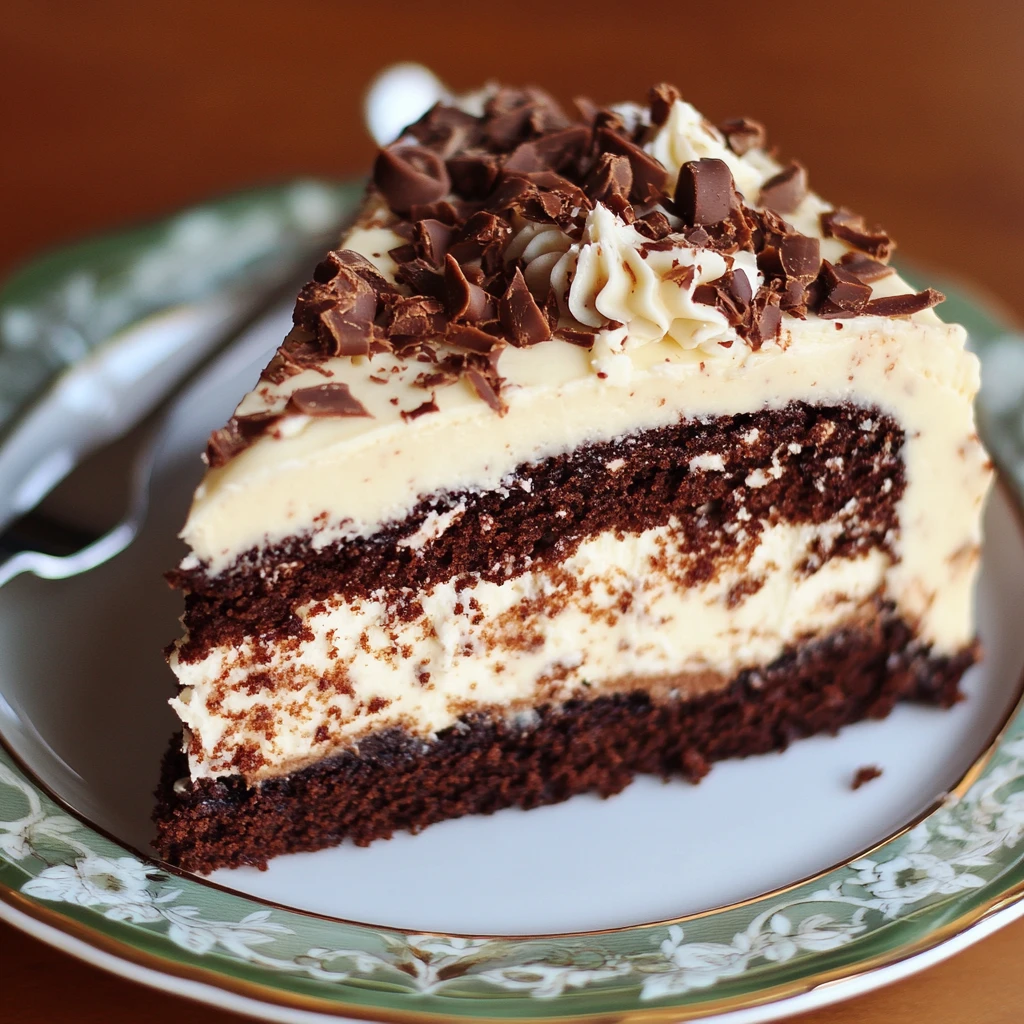
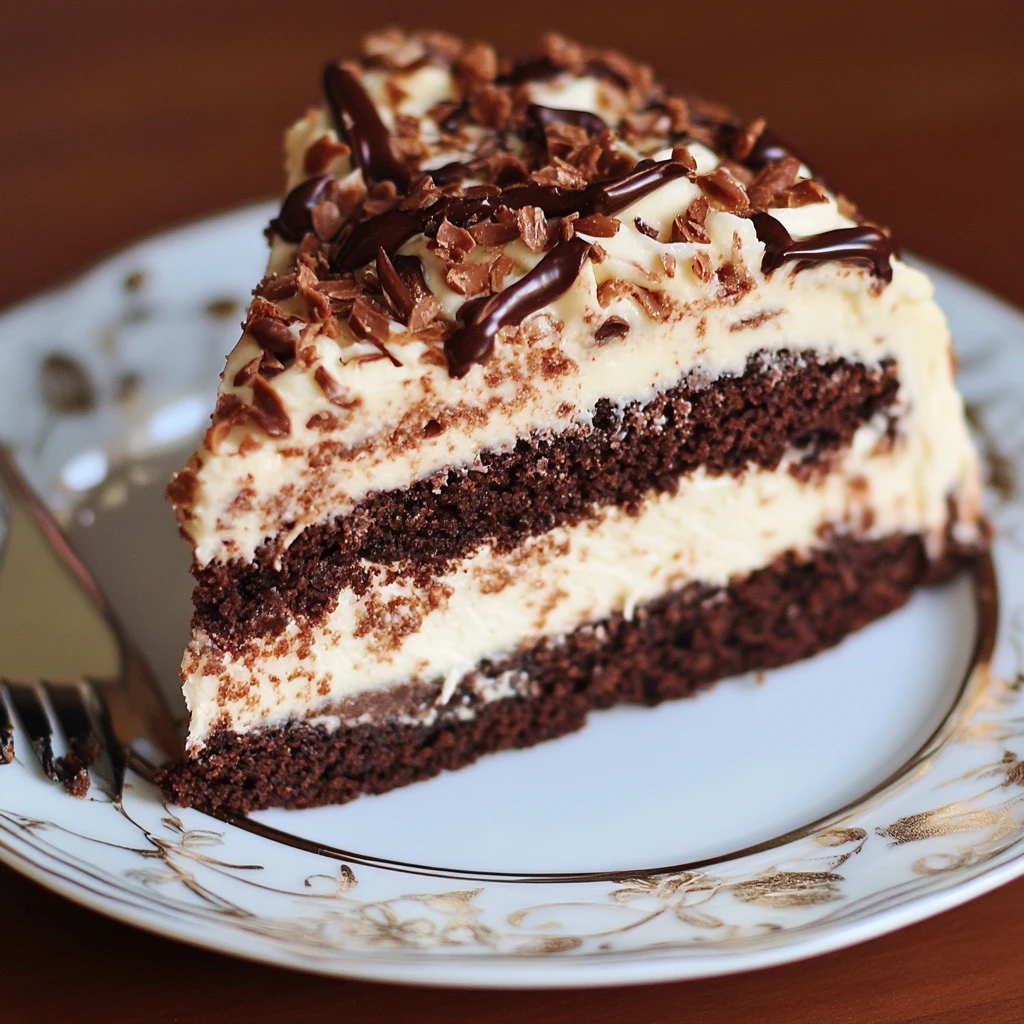
Imagine this: a moist chocolate cake layered with a rich coconut filling, all topped off with velvety chocolate frosting. Sounds dreamy, right? 🌥️ Well, that’s the magic of Mounds Cake! If you’re a fan of the classic Mounds candy bar, then you’re really in for a treat. This recipe captures the essence of those delightful chocolate-covered bites but takes it to a whole new level of indulgence. So, are you ready to unleash your inner baker? Let’s dive into the delicious world of Mounds cake, where every bite becomes a celebration!
The History of Mounds Cake

Origins of the Mounds Candy Bar
Before we can savor the sweet layers of Mounds Cake, let’s take a stroll down memory lane to discover where it all began. The Mounds candy bar was first introduced in 1920 by the Peter Paul Candy Manufacturing Company. Originally, the candy bar was simple: sweetened coconut encased in dark chocolate. Quickly, it became a beloved treat for many due to its chewy texture and rich chocolate flavor.
Transition to Cake Form
However, as time went on, people began to think outside the box (or candy wrapper, in this case), which led to the idea of creating a Mounds Cake. This cake beautifully captures the classic flavors of the candy bar but adds a fluffy, moist cake base. Therefore, it transforms a beloved treat into an eye-catching dessert fit for any occasion. In fact, each slice of Mounds Cake is like a mini celebration on your plate! 🎉
Ingredients You’ll Need for Mounds Cake
Now that we have a little background on Mounds Cake and its candy bar cousin, it’s time to gather our ingredients! The beauty of baking lies in the simplicity of the ingredients, combined with your creativity.

Essential Ingredients for the Cake Base
Let’s start by gathering the ingredients you’ll need for the cake base. First, measure out 2 cups of all-purpose flour, followed by 1 and ½ cups of granulated sugar. Next, you’ll require 1 cup of unsweetened cocoa powder 🌱 to give it that rich chocolate flavor. Additionally, include 1 and ½ teaspoons each of baking powder and baking soda, along with 1 teaspoon of salt to enhance the taste. For the wet ingredients, crack in 2 large eggs, pour in 1 cup of milk, and add ½ cup of vegetable oil. Don’t forget 2 teaspoons of vanilla extract for that extra depth of flavor! Finally, you’ll need 1 cup of boiling water to ensure a moist cake.
These ingredients will give your cake that rich chocolate flavor and the perfect moist consistency. Speaking of which, what’s the secret ingredient to keeping your cake irresistibly moist? Well, it’s the boiling water! It ensures that the cocoa powder dissolves properly, resulting in a velvety texture.
Key Ingredients for the Coconut Filling
Next, let’s move on to the star of the show: the coconut filling. Here’s what you need:
- 2 cups sweetened shredded coconut 🥥
- 1 can (14 ounces) sweetened condensed milk
- 1 teaspoon vanilla extract
This combination transforms ordinary shredded coconut into a gooey, sweet filling that’s impossible to resist. Just imagine the fantastic blend of flavors that’ll dance on your taste buds!
Toppings and Frosting Ingredients
Last, but definitely not least, we can’t forget about the chocolate frosting that pulls everything together. Here’s what we recommend:
- 1 cup unsweetened cocoa powder
- ½ cup unsalted butter, softened
- 2 cups powdered sugar
- ¼ cup milk
- 1 teaspoon vanilla extract
And there you have it—everything you need to create this sensational cake!
Step-by-Step Guide to Making Mounds Cake
Alright, friends, it’s time to roll up your sleeves and start mixing! Follow this simple guide, and you’ll be on your way to baking a Mounds Cake that will wow your family and friends.

Preparing the Cake Base
- Preheat your oven to 350°F (175°C). This step is crucial because a properly heated oven prepares your cake batter for the magic to happen!
- Grease and flour two 9-inch round cake pans. This prevents sticking, thus making it easier to pop the cakes out later. After all, nobody wants a cake that crumbles upon removal!
- In a large mixing bowl, combine the flour, sugar, cocoa powder, baking powder, baking soda, and salt. These dry ingredients are the backbone of your cake.
- Add the eggs, milk, vegetable oil, and vanilla extract to the dry mixture. At this point, it’s time to mix! Use an electric mixer or a whisk to blend everything until the batter is smooth and creamy.
- Slowly stir in the boiling water. Although this step may seem a little strange, trust me! The hot water ensures all those dry ingredients are hydrated, giving your cake that moist and tender crumb.
- Pour the batter evenly into the prepared pans and bake for 30-35 minutes, or until a toothpick inserted into the center comes out clean. Plus, your kitchen is about to smell absolutely amazing! 😍
Making the Coconut Filling
While your cakes are baking, you can prepare the coconut filling:
- In a medium bowl, combine the sweetened shredded coconut, sweetened condensed milk, and vanilla extract.
- Mix well until all the coconut is coated. This mixture should be thick and sticky—a perfect filling to complement the chocolate cake layers!
Assembling the Cake Layers
Once the cakes are baked and cooled, it’s time to piece everything together:

- Level the tops of the cakes if they’ve domed during baking. A serrated knife works wonders, giving you flat surfaces to stack.
- Place the first cake layer on your serving platter. Spread half of the coconut filling over the top.
- Add the second cake layer on top and spread the remaining coconut filling. Now, you have a beautiful layered cake that resembles the Mounds candy bar! Isn’t it glorious?
- Chill the cake for about 30 minutes, allowing the filling to set slightly before frosting.
Techniques for Perfect Frosting
Now, it’s frosting time! Here’s how to make your chocolate frosting:
- In a large mixing bowl, cream the softened butter on medium speed until smooth.
- Gradually add the cocoa powder and powdered sugar, alternating with milk while mixing well after each addition.
- Add the vanilla extract and continue mixing until the frosting is light and fluffy.
- Frost the top and sides of the cake generously. Don’t be shy! A thick layer of frosting never hurt anyone. 🎂
1. Can I use a different type of flour for this recipe?
Absolutely! While all-purpose flour is recommended for the best results, you can experiment with alternatives such as whole wheat flour or gluten-free flour blends. However, keep in mind that using different types may alter the texture of the cake. Therefore, adjustments in the liquid content might be necessary to achieve the desired consistency.
2. How can I store leftover Mounds Cake?
Once you’ve savored the deliciousness of your Mounds Cake, it’s essential to store any leftovers properly. First, cover the cake with plastic wrap or store it in an airtight container. Then, place it in the refrigerator to maintain freshness. Consequently, your cake should remain delicious for about 4 to 5 days.
3. Can I make this cake ahead of time?
Yes, you can! In fact, preparing the Mounds Cake a day in advance often enhances its flavors. To do this, simply bake the cake and allow it to cool completely. After that, wrap it tightly in plastic wrap and store it in the refrigerator. Finally, frost it on the day you plan to serve it for the best presentation and taste.
4. What can I substitute for sweetened condensed milk in the coconut filling?
If you don’t have sweetened condensed milk on hand, there are a few alternatives you can consider. For instance, you can create a homemade version by combining 1 cup of whole milk with 1 cup of sugar in a saucepan and simmering it until it thickens. Alternatively, you might use coconut cream combined with a bit of sugar for a dairy-free option that maintains the creamy texture.
5. Can I freeze Mounds Cake?
Yes, freezing is a great way to extend the life of your Mounds Cake! To freeze, ensure the cake is completely cooled and wrapped tightly in plastic wrap, followed by aluminum foil for extra protection. When you’re ready to enjoy it again, simply thaw in the refrigerator overnight. As a result, you can indulge in your delicious cake even weeks later!

